4. Increasing the Size of the Recent Documents List
If you work with files on the Windows Home Server
machine, you can customize the Windows Home Server Start menu to include
the Recent Items menu, which displays a list of the 15 documents you
worked on most recently. Right-click Start, click Properties, click
Customize, activate the Recent Items check box, and then click OK.
Fifteen documents should be plenty on any Windows
Home Server machine that you use purely as a server. However, if you
also use Windows Home Server as a workstation or development platform,
you may find that 15 documents isn’t enough. In that case, you can use a
group policy to configure Windows Home Server to display a higher
number of recent documents.
Here are the steps to follow to customize the size of the My Recent Documents list:
1. | Open the Local Group Policy Editor window, as described earlier in this chapter.
|
2. | Navigate to the User Configuration, Administrative Templates, Windows Components, Windows Explorer branch.
|
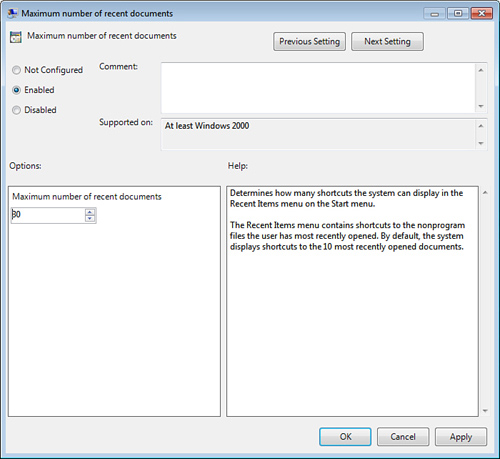
3. | Double-click the Maximum Number of Recent Documents policy.
|
4. | Click Enabled.
|
5. | Use
the Maximum Number of Recent Documents spin box to specify the number
of documents you want Windows Home Server to display (see Figure 9).
|
6. | Click OK.
|
Note
You can specify a value between 1 and 9999 (!) in the
Maximum Number of Recent Documents spin box. If you specify more
documents than can fit vertically on your screen, Windows Home Server
adds scroll buttons to the top and bottom of the Recent Items menu.
5. Enabling the Shutdown Event Tracker
In
Windows Home Server, when you select Start, Shut Down (or click the
Shut Down button in the Windows Security screen as described earlier;
see “Customizing the Windows Security Screen”), Windows Home Server goes right ahead and shuts down the system.
If you want to keep track of why you shut down or
restarted Windows Home Server, you can enable a feature called Shutdown
Event Tracker. With this feature, you can document the shutdown event by
specifying whether it is planned or unplanned, selecting a reason for
the shutdown, and adding a comment that describes the shutdown.
Here are the steps to follow to use a group policy to enable the Shutdown Event Tracker feature:
1. | Open the Local Group Policy Editor window, as described earlier in this chapter.
|
2. | Navigate to the Computer Configuration, Administrative Templates, System branch.
|
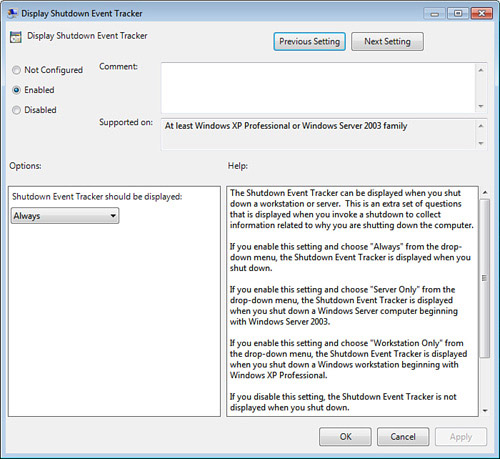
3. | Double-click the Display Shutdown Event Tracker policy.
|
4. | Click Enabled.
|
5. | In the Shutdown Event Tracker Should Be Displayed list, select either Always (as shown in Figure 10)
or Server Only. (This ensures that the Shutdown Event Tracker appears
in Windows Home Server; the third option—Workstation Only—displays the
Tracker only on computers running as a client, such as XP or Vista, so
it doesn’t apply to Windows Home Server.)
|
6. | Click OK.
|
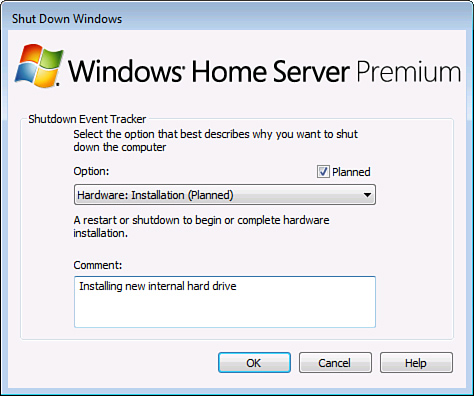
Now when you select Start, Shut Down, you see the version of the Shut Down Windows dialog box shown in Figure 11. The Shutdown Event Tracker group gives you three new controls to operate:
| Planned | Leave
this check box activated if this is a planned shutdown. If you didn’t
plan on shutting down Windows Home Server (for example, you’re
restarting because a program has crashed or because the system appears
unstable), deactivate this check box. |
| Option | Use
this list to select the reason for the shutdown. (Note that the items
you see in this list change depending on the state of the Planned check
box.) |
| Comment | Use
this text box to describe the shutdown event. If you choose either
Other (Planned) or Other (Unplanned) in the Option list, you must add a
comment to enable the OK button; for all other items in the Option list,
the Comment text is optional. |